Tutorial: animate a robot trajectory
In this tutorial, we will see how to animate a robot to follow a trajectory.
Import and physicalize your robot
-
Let's start by creating a new simulation.
- Go to INTERACT Menu and click on Interact > Create simulation
- Select your favorite environment
- Add a desktop or VR player
-
Import the robot from CAD file. You can use Pixyz for this, or import an FBX file through Unity native importer.
Import URDF
You can also import an URDF file to directly import your CAD model with kinematic links.
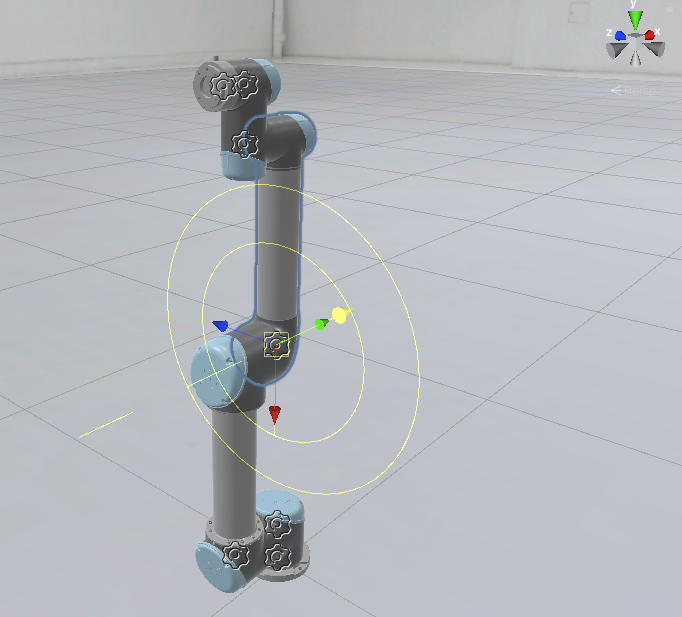
For this tutorial, we will use a robot from the Interact's library, which come already physicalized. Let's import UR5 robot.
INTERACT > Industrial Library > Robots > Universal Robot > UR5

If you chose a personal robot, configure the kinematics joints on it.
Configure a manipulator to move the robot effector
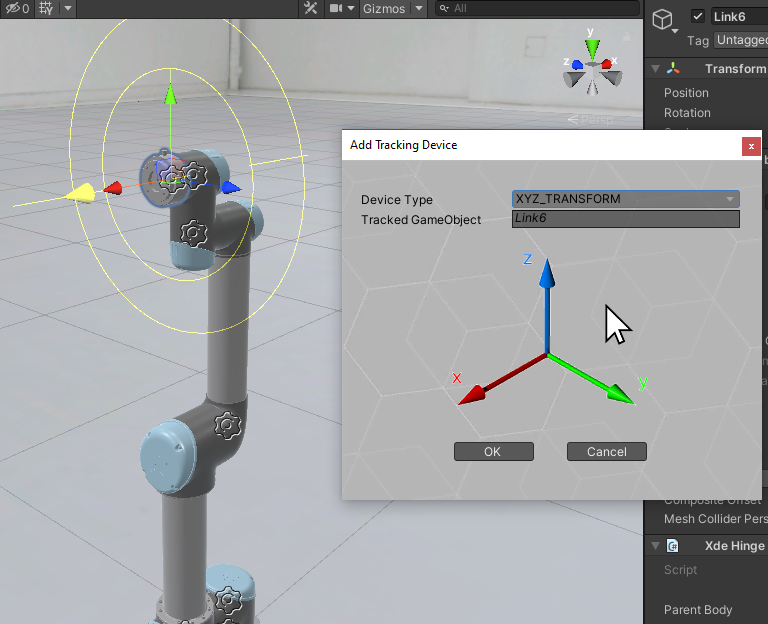
- Select the end-effector Link6 in the Unity's hierarchy.
- Click on INTERACT > Physics > Add manipulator
-
Select XYZ Transform

You can learn more about manipulators here.
-
Click on play to launch your simulation and move around the Unity Transform to see your robot animated.
Use Unity Timeline to define keyframes
-
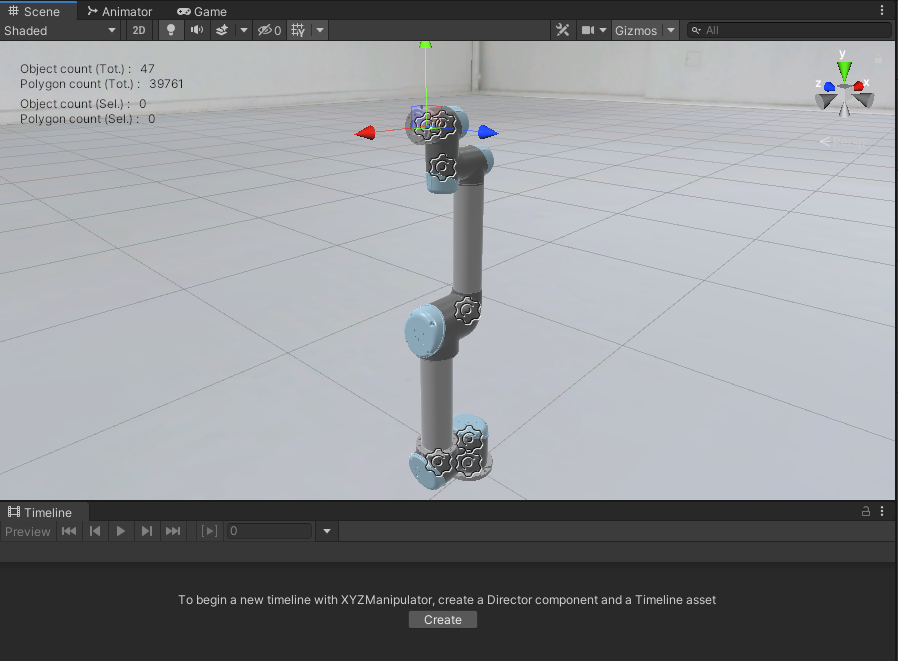
Open the timeline window in Window > Sequencing > Timeline.

-
Select the Unity Transform gameobject in the hierarchy.
- On the timeline windows, create a new Timeline Asset and save it in your Unity's project.
-
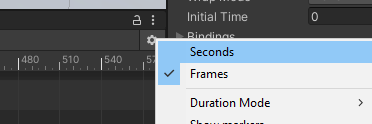
By default, the timeline is labeled with frame numbers. Robotics engineers usually prefers to express positions with regard to time. You can switch to Seconds instead of Frames by clicking the gear icons in the top-right part of window's timeline.

-
Move Unity Transform gameobject and add Keyframes. You can learn more at https://docs.unity3d.com/Manual/animeditor-AnimatingAGameObject.html
When you play the simulation, Unity Transform will move, according to your animation. The robot will try to follow this trajectory, while taking into account joints limits, inertia and kinematic.